
How to Make a Seashell Ornament With Your Family
Looking for a simple, meaningful holiday craft? This seashell ornament is not only beautiful but also quick to make—perfect for a fun family activity. Furthermore, in just 30 minutes, you’ll have a lovely keepsake to hang on your tree or gift to someone special.
I’ve always been drawn to crafts that feel both creative and satisfying. Growing up, my family often took beach trips and collected seashells as souvenirs. Over the years, I’ve stored these little treasures in jars, waiting for the perfect project. So, when I spotted a woven seashell ornament tutorial on Pinterest, I knew it was time to put them to good use!
In this post, I’ll share my step-by-step process, including a few tweaks I made along the way.
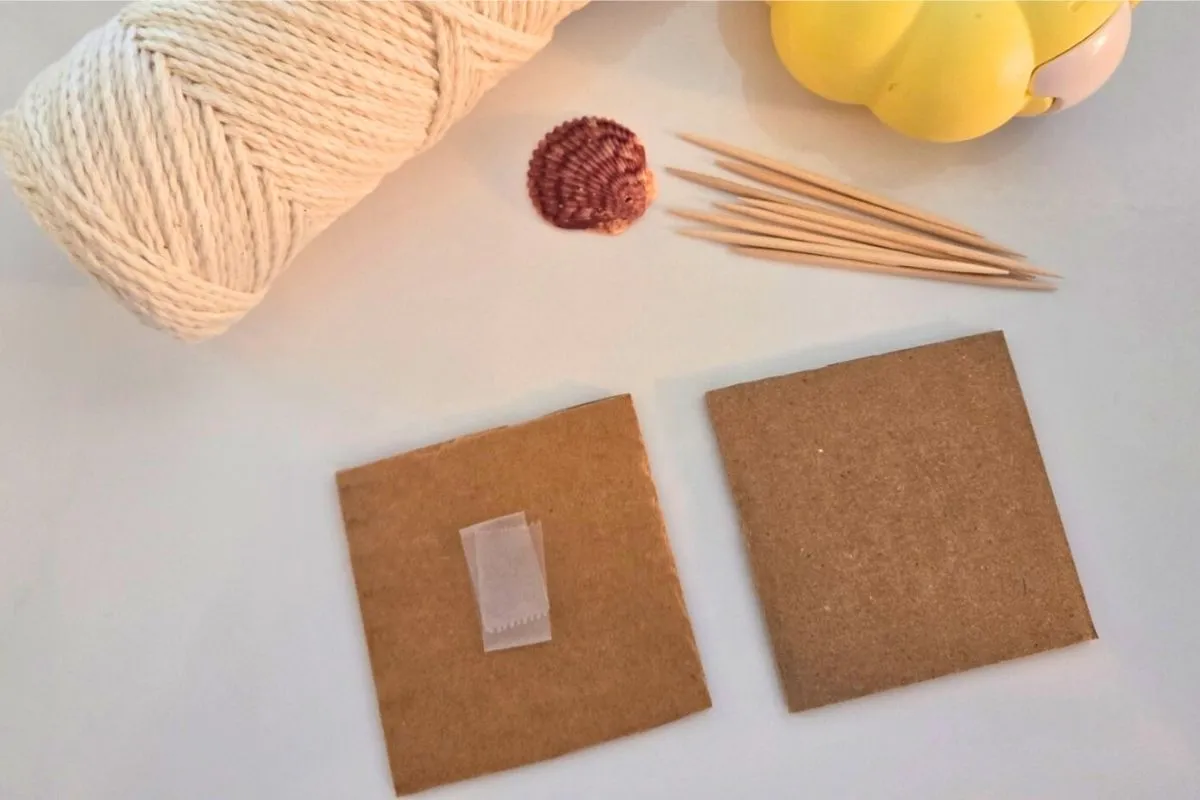
Supplies I Used to Make My Seashell Ornament
- seashell
- thin (or lightweight corrugated) cardboard
- cotton kitchen cooking twine
- 8 toothpicks
- transparent tape
How I Made My Seashell Ornament
1. Cutting the Squares for the Ornament
Start by cutting two squares of thin cardboard. Aim for each square to be about 2.5 times the width of your seashell. I didn’t use a ruler—just eyeballed it—but feel free to measure for precision!
Once cut, stack the squares and trim them to match in size. Rotate one square 45 degrees to form a star shape. If needed, adjust the edges to ensure the squares align neatly.
2. Putting the Squares Together
Tape or glue the squares together at the center where they overlap. Next, insert toothpicks or straight pins into the corners of both squares. These will guide the twine wrapping later.
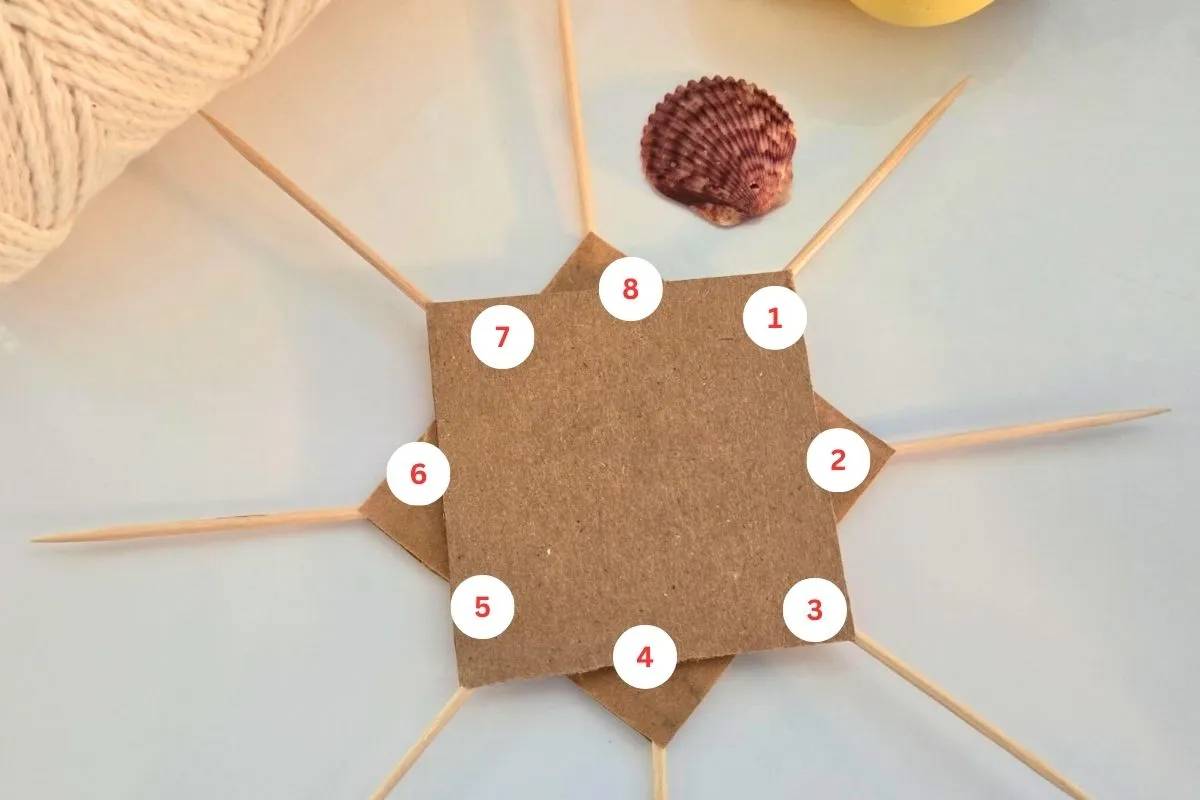
3. Wrapping the Ornament in Twine
Secure one end of the twine to the back of the ornament with tape. Then, bring the twine to the front and begin wrapping it around the corners in a star-like pattern. Follow this sequence:
- From corner 1 to corner 3
- From corner 3 to corner 2
- From corner 2 to corner 4, and so on.
Keep wrapping, layering the twine outward until the gaps between the corners are filled, creating a woven effect. Once done, cut the twine and tape the loose end to the back.
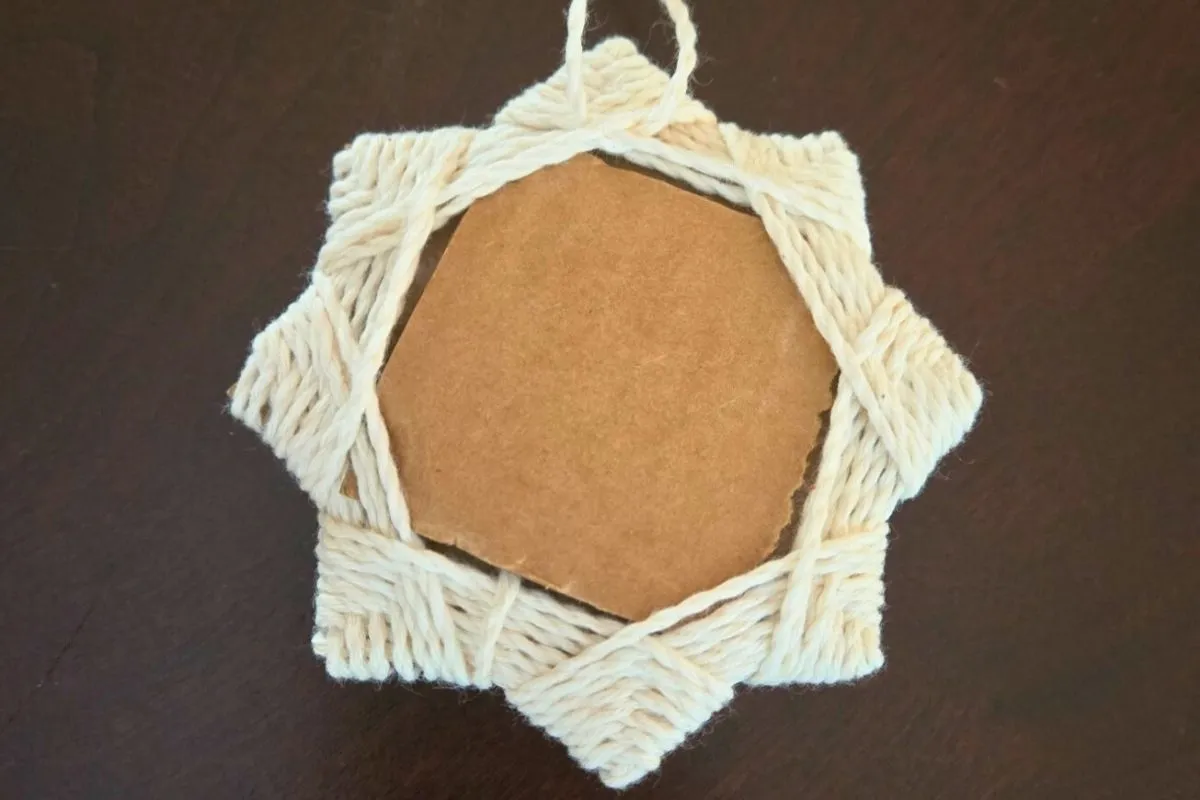
4. Finishing the Ornament
For a polished look, cut a small square of cardboard to cover the back and secure the twine ends. Add a hanging loop by threading a separate piece of twine through the back and tying a knot. Voilà—your ornament is ready to display!
Variations on Seashell Ornament
This ornament design is versatile! Swap the seashell for a coin, decorative button, or even a tiny photo. Just be sure to glue these items securely in place.
More Seasonal Posts You Might Enjoy
Looking for more creative and fun ways to celebrate the season? Whether you’re crafting with kids or adding a personal touch to your holiday décor, these ideas are sure to inspire!
- How to Make Snow Globe Ornaments: Create magical snow globes that double as ornaments—a perfect craft for kids and adults alike.
- DIY Christmas Decorations – Explore more festive ideas to make your home shine this holiday season.
Want more holiday fun? Try these easy snacks or make-ahead treats.
If you’re clearing space for new decorations, don’t miss these great holiday decluttering tips.
Final Thoughts
I’m thrilled with how my seashell ornament turned out—it’s a charming addition to my holiday décor and a special way to relive fond beach memories. Thanks to Sea with Love for the inspiration! Check out their Pinterest video tutorial for more details.
If you give this project a try, let me know how it goes. Happy crafting!


